Can You Change Font Style on iPhone Without Downloading Apps?
Yes, you can absolutely customize how fonts look on your iPhone without downloading anything from the App Store. I discovered this when I got frustrated trying to make my phone’s text more personal, and it turns out Apple has built several methods right into iOS that most people never find.
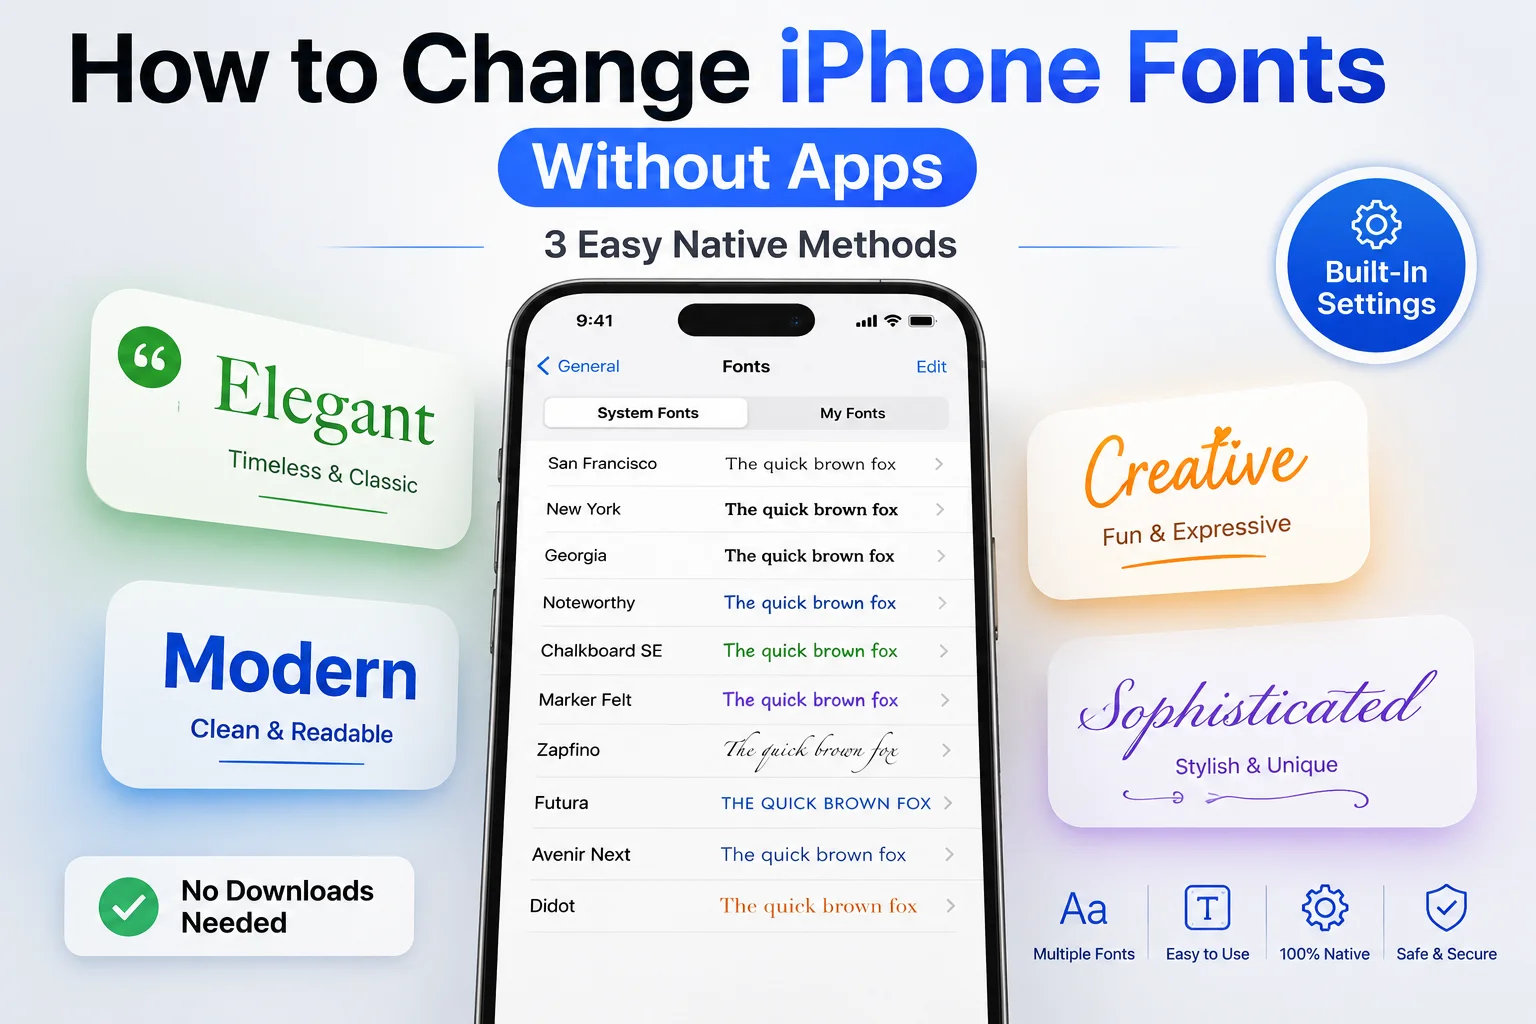
The catch is that iPhone doesn’t work like Android. You can’t make system-wide changes by swapping out the system font entirely and changing everything at once. Instead, iOS gives you three solid native approaches: you can adjust text size and weight through Settings, use the Hover Typing feature to preview different fonts while typing, or grab stylish text from web-based generators and paste it anywhere.
iPhone font customization is different from what Android offers, but the native methods work surprisingly well once you know where to look. I went from thinking my phone was stuck with boring text to discovering I had way more control than I realized.
The main thing that surprised me was discovering that all these customization features already existed buried in my iPhone’s Settings. I didn’t need to download anything or jailbreak my device. I just needed to understand how Apple designed the built-in font options and accessibility settings to work together.
Why iPhone Font Customization is Limited (And What Apple Allows)
Apple intentionally limits how much you can change your iPhone’s fonts. This isn’t a bug or a limitation they overlooked—it’s actually a deliberate part of Apple’s iOS design philosophy.
The reason comes down to consistency. Apple designed iOS around the San Francisco typeface, which appears everywhere from your Settings menu to notifications to app icons. This consistency creates a unified experience across the entire phone. When I understood this philosophy, it made sense why Apple doesn’t let you freely swap fonts like Android does.
Android gives users complete control over system fonts, which is why Android phones can look drastically different from each other. iPhone prioritizes a consistent, polished interface where every device looks and feels the same regardless of who owns it. That’s an intentional choice, not a limitation.
Different iOS versions support different levels of font customization too. If you’re running iOS 18 or newer, you get the Hover Typing feature that shows font previews while you type. Older iOS versions have System Fonts you can download, and every version since iOS 13 supports adjusting text size and weight through Accessibility settings.
What iOS Versions Support Font Customization
Hover Typing is exclusive to iOS 18 and newer. If you’re on iOS 17 or earlier, you can still download System Fonts and adjust text size and weight through accessibility settings, but you won’t see the Hover Typing option in your Accessibility menu. Bold Text and text size adjustments work on virtually all recent iOS versions since iOS 13, so those are your safest options if you’re not running the latest software.
Simple Ways to Make iPhone Text Easier to Read (No Apps)
The easiest way to change how text looks on your iPhone is through Display & Brightness settings. You don’t need to download anything or dig into complicated menus. Just three taps and you’ve got bigger, bolder text right away. This is one of several easy iPhone customization options you can make without any app downloads—similar to how you can unhide hidden apps on iPhone using native settings.
I use these methods constantly because they’re instant and require zero setup. The text changes apply immediately, and you can always undo them if you change your mind.
Adjust Text Size in Display Settings
Open Settings, scroll down to Display & Brightness, then tap Text Size. You’ll see a slider with an A on the left and a bigger A on the right. Drag that slider to make all your app text larger or smaller. This affects the text in most apps like Mail, Messages, and Safari, though it doesn’t change everything on your phone (some system elements stay the same size).
I tested this after getting frustrated with squinting at my phone, and honestly it made a huge difference. The text in my apps became much more readable without me having to zoom in constantly.
Enable Bold Text for Thicker System Fonts
Go to Settings, tap Accessibility, then Display & Text Size, and toggle Bold Text to On. Your entire iPhone will immediately show thicker, heavier text everywhere. System menus, notifications, app labels, everything gets bolder.

The first time I turned this on, I was surprised how much it changed the look of my home screen. Text that felt thin and light suddenly looked substantial and easier to read. Some people love this immediately, while others find it takes some getting used to.
Use Dynamic Type for App-Specific Text Scaling
Dynamic Type is Apple’s way of automatically scaling text in apps based on your preferences. Many Apple apps and third-party apps support this feature. If an app supports Dynamic Type and you’ve adjusted your text size in Display & Brightness, that app will automatically adapt.
You don’t really do anything to use Dynamic Type. It just works quietly in the background. Apps that support it will respect your text size preference without you having to configure anything special.
Advanced Text Customization in Accessibility Settings
Beyond just making text bigger or bolder, the Accessibility menu has several lesser-known settings that dramatically improve how text looks and feels on your screen, offering display accommodations that go far beyond the basics. I stumbled across these features by accident and realized they offered customization options I didn’t know existed. Just like iPhone customization extends to accessibility features, Android offers similar capability through app-locking features and other native controls.
These features work together to create a more personalized reading experience with expanded reading options. You can combine multiple settings to get exactly the text appearance you want.
Increase Contrast for Sharper Text
Go to Settings, tap Accessibility, then Display & Text Size, and toggle Increase Contrast to On. This setting sharpens the edges of text and makes it stand out more against backgrounds. The text becomes crisper and more defined.
I use this setting constantly because it genuinely makes text easier to read, especially in bright light or when I’m tired. The difference is noticeable the moment you enable it.
Add Button Shapes for Better Visual Hierarchy
In the same Accessibility menu, you’ll find a toggle for Button Shapes. When enabled, this adds underlines and visual indicators to buttons throughout iOS, making it clearer which elements are clickable. This helps distinguish regular text from interactive text.
The Button Shapes toggle makes your phone feel more organized visually. You immediately see which text is actionable and which is just information.
Reduce Transparency to Emphasize Text
The Reduce Transparency setting, also in Display & Text Size, removes or reduces the frosted glass effects throughout iOS. Backgrounds become more solid, which makes text stand out much more clearly against them.
When I turned this on, my text popped off the screen more prominently. It’s especially helpful if you have any vision sensitivity or just prefer sharper visual contrast.
Combining Multiple Settings for Maximum Readability
The real magic happens when you combine these settings for true visual customization. Try enabling Bold Text plus Increase Contrast plus larger text size together. Each setting amplifies the others, creating a personalized display that works specifically for you.
I experimented with different combinations and found that Bold Text plus Increase Contrast gave me the best readability for my eyes without making everything feel overwhelming.
How to Download and Install System Fonts on iPhone
This is where things get interesting. Apple provides a collection of free fonts that you can download directly to your iPhone through Settings. Once downloaded, you can use these fonts in specific apps and with the Hover Typing feature.
I was shocked to discover this built-in font library of native iOS fonts after assuming iPhone didn’t let you customize fonts at all. The process is straightforward once you know where to look.
Accessing the Fonts Menu in Settings
Open Settings, tap General, scroll down, and tap Fonts. You’ll see two tabs: System Fonts and My Fonts. System Fonts contains the free Apple fonts you can download—check Apple’s official guide on text and font settings for additional options. My Fonts shows fonts you’ve added through other means (usually apps that add custom fonts).
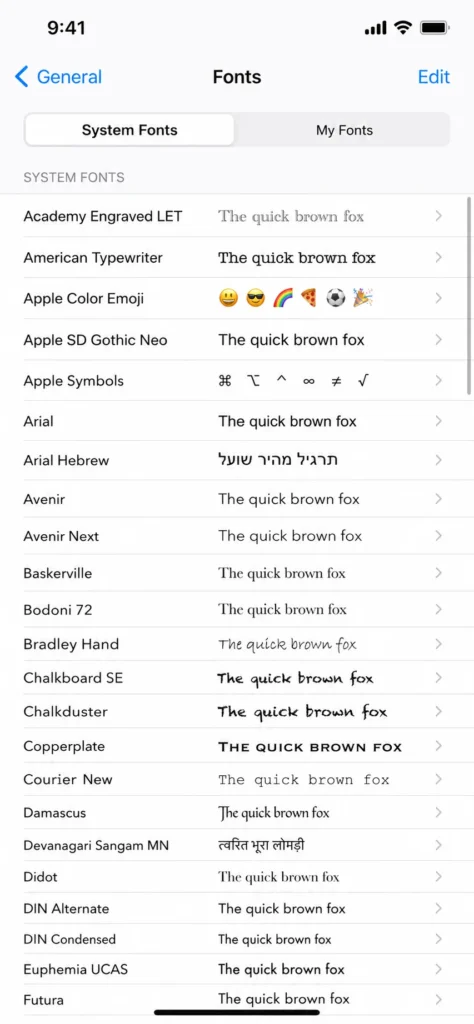
The System Fonts tab is what you want. It displays dozens of beautiful typefaces from Apple, all completely free and ready to download.
Browsing and Previewing Available System Fonts
Tap System Fonts and you’ll see the full list. Each font has a small preview so you can see what it looks like at a glance. Want a better look? Tap any font name to see the complete alphabet, numbers, and symbols in that typeface before you download it.
I spent time browsing through the available fonts because the previews help you understand which ones you actually like. Some fonts look elegant in the preview but feel weird when you use them in messages.
Downloading Your Chosen Font
Once you find a font you like, tap it and you’ll see a Download button. Tap that button and the font installs to your phone immediately. The download happens fast, usually just a few seconds.
After downloading, make a note of the font name because you’ll need it later when you want to use it. I learned this the hard way after downloading a font and forgetting its name, then having to go back and check.
System Fonts vs My Fonts: What’s the Difference
System Fonts are the fonts Apple provides and maintains themselves. They’re completely free, always available, and require no third-party apps. My Fonts are fonts that other apps have added to your phone, often through font management apps (which kind of defeats the purpose of using fonts without apps).
Stick with System Fonts if you’re trying to avoid downloading extra apps. These are the free, official Apple fonts that work reliably across your phone. This principle applies broadly across iPhone customization—many features you might think require downloading apps (like deleting stickers) are actually built into native iOS features
Enable Hover Typing to See Fonts While You Type (iOS 18+)
Hover Typing is the feature that makes iPhone font customization actually fun. It’s the main reason I was excited to upgrade to iOS 18. When you enable it, you get to preview exactly how your text will look in your chosen font as you type, displayed in an enlarged box above your keyboard.
This is the closest thing iOS offers to actually changing your font for typing. It’s not a permanent change, but it’s incredibly useful for seeing different styles before you send a message.
What is Hover Typing and How Does It Work?
Hover Typing is an iOS 18 accessibility feature that displays your typed text in a large, clear preview above your keyboard. You can set it to show your text in any of the System Fonts you’ve downloaded. As you type, you see exactly how each letter and word appears in that font, giving you real-time text formatting feedback.
The preview doesn’t change what people actually receive. They still get text in whatever font their device displays by default. But you get to see it styled the way you want, which makes typing more enjoyable and gives you a preview of how the visual style will look.
Step by Step: Enabling Hover Typing
Open Settings, go to Accessibility, scroll down to Keyboards & Typing, and tap Hover Typing. Toggle the switch to On. That’s it. Hover Typing is now enabled on your phone.
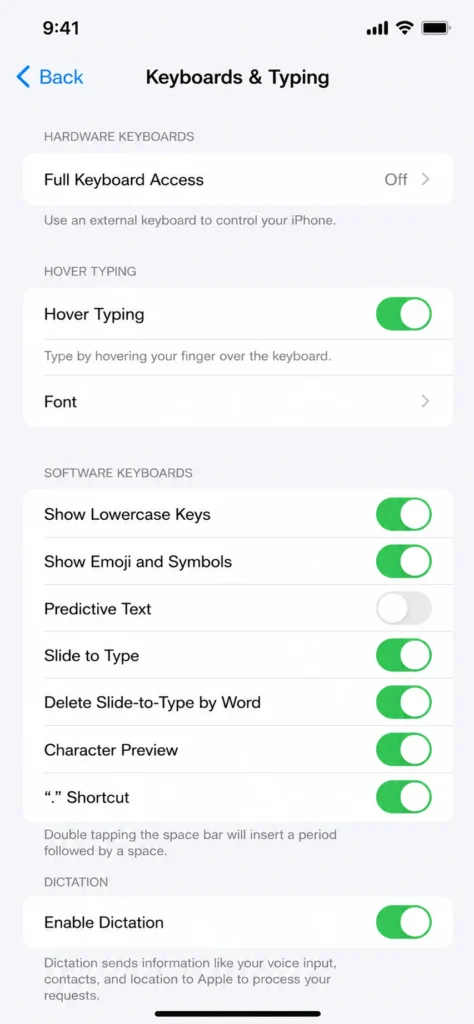
Once it’s on, the feature is ready to use whenever you open a messaging or typing app. You’ll see the toggle is active and Hover Typing will start working immediately.
Selecting Your Font in Hover Typing
Still in the Hover Typing menu, tap the Font option below the main toggle. You’ll see a list of all the System Fonts you’ve downloaded. Select the one you want to use. That font will now appear in your Hover Typing preview whenever you type.
The font selection is simple and straightforward. Just pick whichever one you want and it takes effect immediately.
Testing Your New Font Style in Messages
Open Messages or any messaging app and start typing. Look above your keyboard and you’ll see your text displayed large and clear in your chosen font. Type a few words to see how different letters look and feel in that font style.
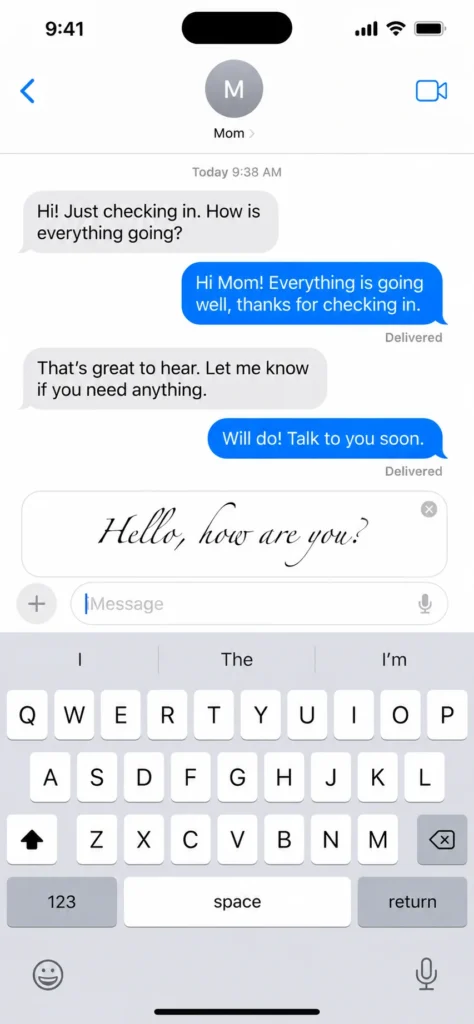
The Hover Typing preview helps you actually experience the font before you send anything. I use this all the time to see if a particular font matches the mood or tone I’m going for in a message.
How to Actually Use Downloaded Fonts in Messages and Apps
Here’s something that confuses a lot of people: you download a font from System Fonts, but then you’re not sure how to actually use it in your apps. I had the same question, so here’s exactly how to apply downloaded fonts when you’re typing.
The process is simple and works in the main Apple apps that support rich text formatting.
Using Fonts in the Messages App
Open Messages and start typing a new message. While you’re typing, look for the “Aa” formatting icon on your keyboard. Tap that button and a menu appears showing formatting options. Tap the current font name and you’ll see your list of downloaded System Fonts. Select the font you want and your text will display in that font.
fonts
The text appears in your chosen font both in the compose window and in the message thread. Not everyone who receives your message will see it in that font if they’re using an older iPhone, but most modern devices will display it correctly.
Which Apps Support Custom Fonts?
Messages, Mail, Pages, Keynote, and Numbers all support custom fonts. Notes also supports fonts depending on which formatting options you’re using. These are the main Apple apps where your downloaded fonts actually work for text appearance.
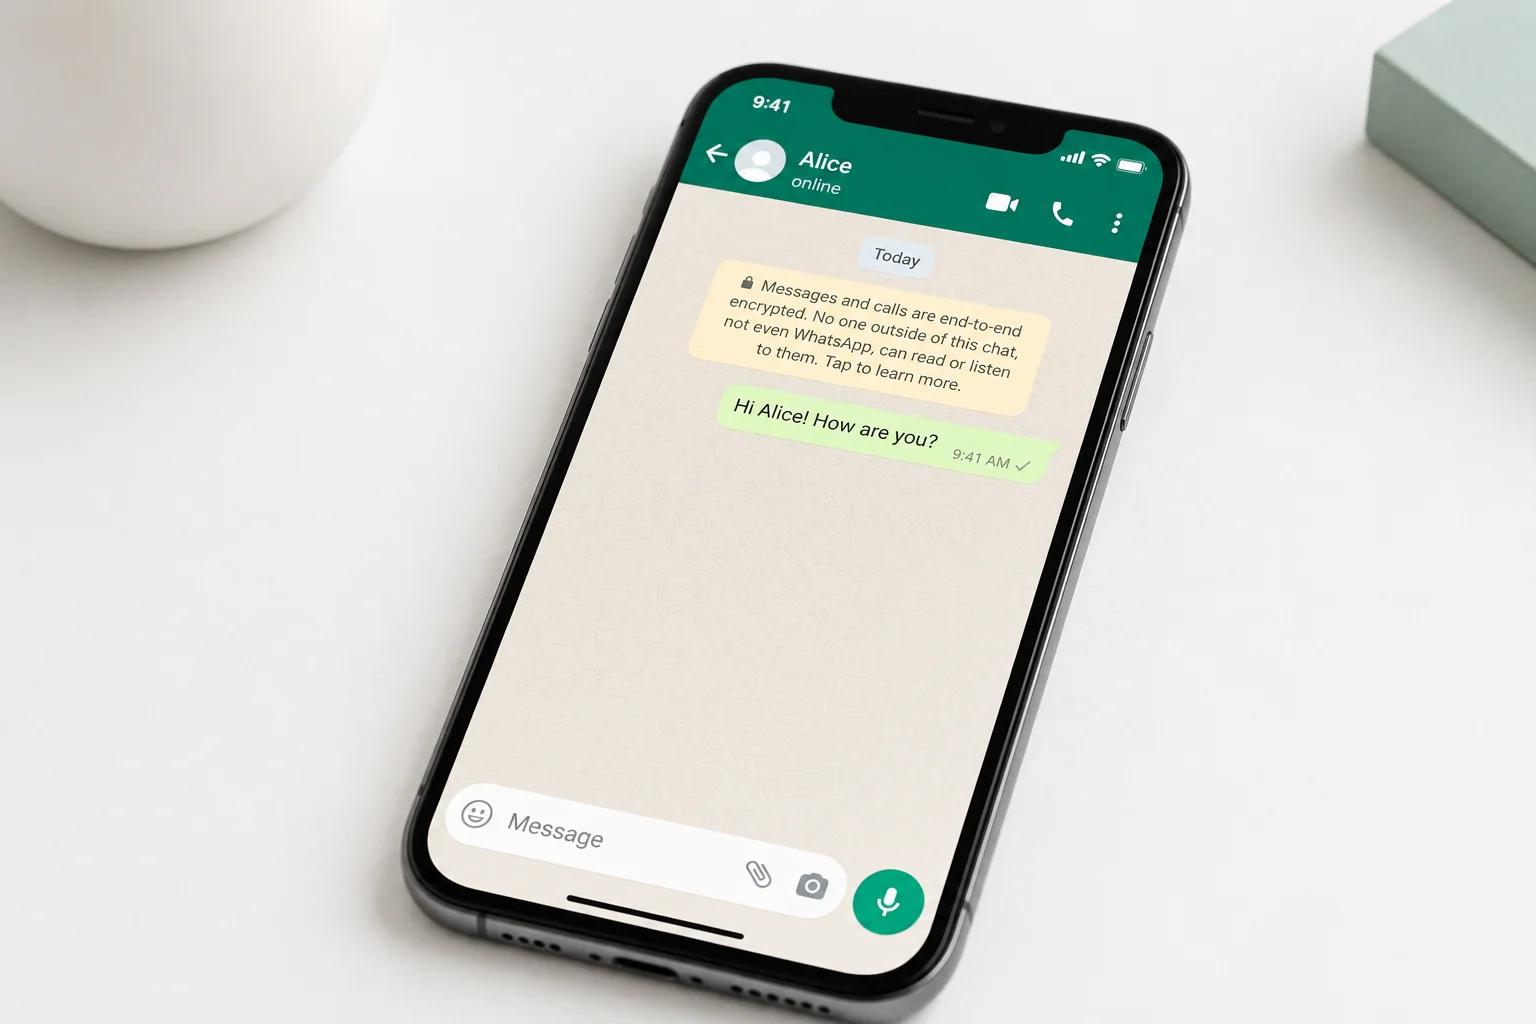
Apps like Instagram, WhatsApp, TikTok, and most social media apps don’t support custom fonts. They override whatever font you select and display text in their own typeface. This is because these apps control the exact appearance of text to maintain their branding.
Formatting Text in Pages and Notes
Pages has a dedicated font menu in the formatting toolbar. When you’re editing a document, tap the formatting options and you can select your downloaded fonts from the font menu. Notes has a simpler approach. In a rich text note, select your text and you can tap the formatting options to change fonts.
Both work smoothly and give you access to all your downloaded System Fonts in the same way.
Create Stylish Text Without Changing Settings (Web Method)
If you want stylish, decorative text without changing any iPhone settings or downloading any apps, there’s a clever workaround. You can use web-based font generators to create fancy text, then copy and paste that text into any app you want.
I discovered this method when I needed special text for social media and realized I didn’t want to adjust my phone’s settings just for one post. It’s perfect for one-off uses.
Step by Step: Web Based Font Generator
Open Safari and search for “stylish font generator.” You’ll see results like tools.picsart.com or fancytextgenerator.com. Visit one of these sites, type or paste the text you want to style, and scroll through all the different font options the generator creates. Tap whichever style you like to copy it, then go back to WhatsApp, Instagram, your message, or wherever you want the text, and paste it.
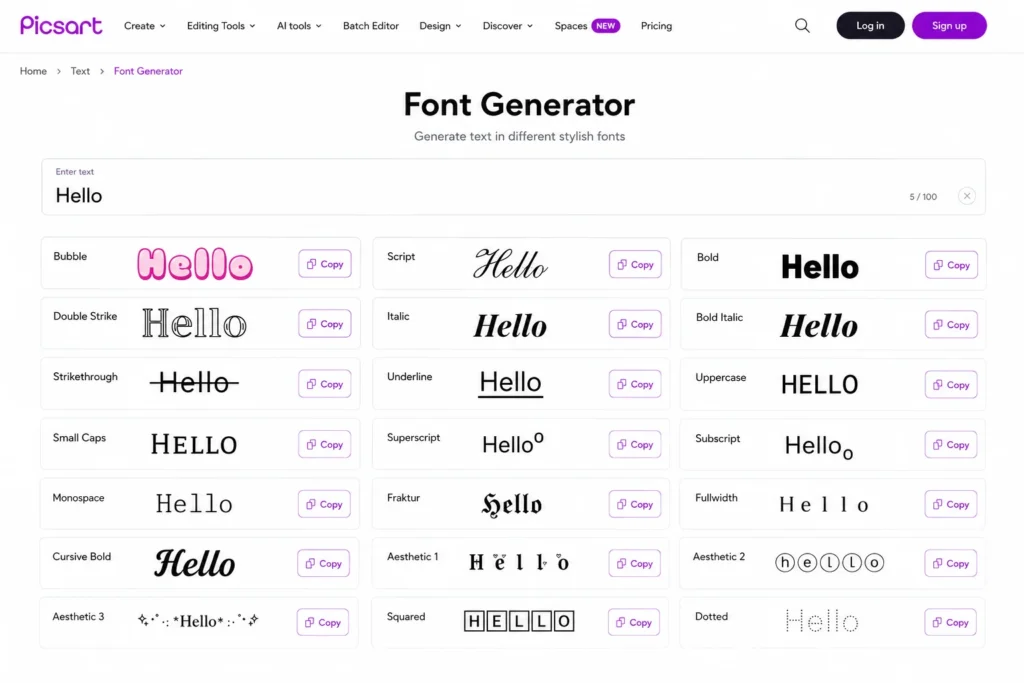
The generated text pastes as regular characters, so it works in literally any app, even apps that don’t support custom fonts. Instagram will display your stylish text exactly as you formatted it.
Best Uses for Web Generated Fonts
Web-generated fonts are perfect for Instagram bios, TikTok captions, WhatsApp statuses, Twitter posts, and any one-time fancy text moments. They’re not ideal for regular conversation because the text looks unusual and breaks up normal communication.
Use these when you want to stand out or add personality to something specific. Don’t use them for everyday messaging because it gets old fast.
Troubleshooting: Why Your iPhone Font Changes Aren’t Working
Sometimes you follow all these steps and nothing seems to work. Your downloaded font doesn’t appear, Hover Typing is missing, or your new fonts don’t show up in apps. Let me walk you through the most common problems and how to actually fix them.
Downloaded Font Doesn’t Show in Hover Typing
Make absolutely sure you actually downloaded the font first. Go back to Settings, General, Fonts, System Fonts and verify the font is there and shows as downloaded (not just available to download). Then go to Accessibility, Keyboards & Typing, Hover Typing, and check that same font name in the Font list.
The font name in Hover Typing must exactly match the name in System Fonts. If you’re not seeing it, the font probably didn’t download properly, so try downloading it again.
Hover Typing Option is Missing
Hover Typing only exists on iOS 18 and newer. If you don’t see it in your Accessibility menu, you’re running an older iOS version. Check Settings, General, Software Update and install iOS 18 if it’s available for your phone.
Once you update to iOS 18, go back to Accessibility, Keyboards & Typing and Hover Typing will be there.
Font Changes Don’t Appear in Social Media Apps
This is completely normal and not a problem. Instagram, TikTok, Twitter, and similar apps use their own fonts and deliberately ignore any custom fonts your iPhone settings create. They do this to maintain consistent branding across the platform.
If you need stylish text in these apps, use the web-based font generator method instead. That actually works because you’re pasting formatted text, not relying on the app to display custom fonts.
Bold Text Didn’t Enable After Toggling
Some display changes require a device restart to take effect. If Bold Text isn’t working after you toggle it on, restart your iPhone. Go to Settings, General, Shut Down, then turn your phone back on. Bold Text should be working after the restart.
Usually the toggle itself applies the change immediately, but occasionally a restart helps it stick.
Comparing Native Font Methods vs Third Party Apps
You’ll see a ton of font apps in the App Store promising unlimited fonts and complete customization. I tested several of these and honestly, the native methods Apple provides are usually better for everyday use. Let me explain why.
changes, Hover Typing for previews, or web generators for creative text
What Native Methods Can Do
Apple’s built-in font customization is free, requires no App Store downloads, involves no privacy concerns, works instantly, and requires no subscriptions. System Fonts come from Apple itself so they’re reliable and well supported.
Native methods also don’t require giving keyboard access to random third party apps. Some font apps need full keyboard access to function, which is a privacy concern most people don’t think about.
What Apps Offer and Why You Probably Don’t Need Them
Paid font apps claim they offer more fonts and easier switching, but the reality is different. Most require keyboard access permissions, many include ads or subscriptions, they add bloat to your phone, and there’s always a privacy question with giving third-party keyboard access.
For regular iPhone users who just want to customize text occasionally, these apps create way more hassle than value. The fonts Apple provides are genuinely beautiful and sufficient for most uses.
When You Might Want an App
If you’re doing graphic design work or need specialized fonts for a specific creative project, some apps might actually be useful. But for everyday iPhone typing and messaging, the native methods do everything you need without any of the complications.
The answer to most font customization needs is already built into your phone.
Final Thoughts: Making the Most of iPhone’s Font Options
Looking back at where I started, I thought my iPhone’s fonts were completely locked down. Now I realize Apple gives you three entirely different approaches to font customization, each working in its own way.
You can make quick, easy changes to text size and weight through Display settings. You can preview different fonts while typing with Hover Typing on iOS 18. You can create decorative text with web-based generators for social media. Each method solves different problems.
The limitation people complain about is real. You can’t swap your system font like on Android. But honestly, after using all these methods, I don’t miss that. Apple’s approach gives you meaningful customization without letting your phone become inconsistent or confusing.
Start simple with text size adjustments if you’ve never customized your iPhone before. If you want more control, download a few System Fonts and try Hover Typing. If you need fancy text, the web generator method is surprisingly elegant.
You genuinely have more font customization options than you probably realized. The methods are just different from what other phones offer. Once you understand how each one works, you can make your iPhone’s text look and feel exactly how you want it.
Frequently Asked Questions
Why can’t I see the Hover Typing option on my iPhone?
Hover Typing requires iOS 18 or later. If you don’t see it in Settings, Accessibility, Keyboards & Typing, update to iOS 18 or newer through Settings, General, Software Update.
Can I use different fonts in iPhone Messages app?
Yes, after downloading a font from System Fonts, open Messages, start typing, tap the “Aa” formatting icon, tap the current font name, and select your downloaded font. The text will appear in that font.
Are System Fonts in iPhone settings free to download?
Yes, all fonts under Settings, General, Fonts, System Fonts are completely free and provided by Apple. You don’t need to pay or download apps. Simply tap the font and tap Download.
How do I make all my iPhone text bold permanently?
Go to Settings, Accessibility, Display & Text Size, and toggle Bold Text to On. Your entire iPhone will immediately show thicker text everywhere. This is the easiest way to make text thicker and more readable without complex settings.
Do I need to jailbreak my iPhone to change fonts?
No, jailbreaking isn’t necessary. iOS 18 introduced Hover Typing for font previews. You can download System Fonts and adjust text appearance through native Settings without any jailbreak or apps.


Leave a Reply